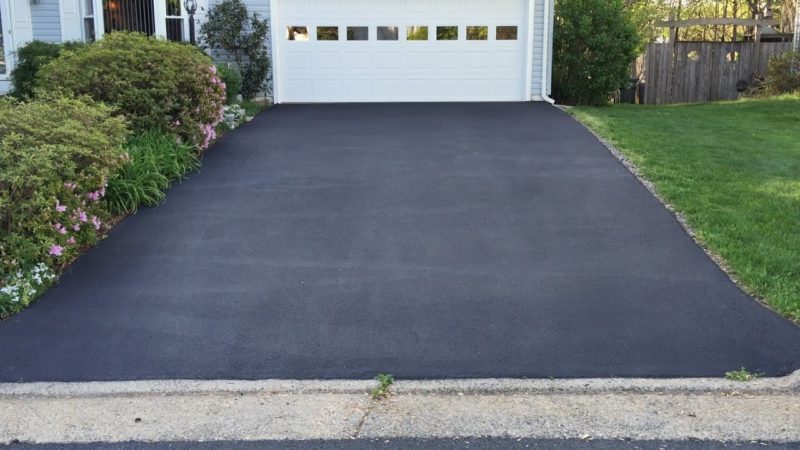
Asphalt is a durable and resilient driveway paving material and if you take care of it, it will look great and last 20 to 30 years or even longer. If you want to keep that smooth, slate black appearance, you’re going to have to put in a little sweat equity but not nearly as much as you might think.
Maintaining blacktop is simple, doesn’t require expensive tools, and if you have mastered your sweeping skills, you just need a little information on a technique to become a master asphalt maintenance specialist.
So, what’s involved?
Because asphalt is a petroleum product, it is susceptible to reacting with other chemicals like deicer, automotive fluids, some liquid fertilizers, as well as excessive water and heat.
That reaction typically results in cracks, spalling, or fading. A little TLC by you can prevent those reactions from spreading or happening in the first place.
Keep It Clean
How often do you sweep out and clean your garage floor? We’re betting it’s more often than twice a year and that’s how often you should “clean” your blacktop driveway.
Start with a stiff bristle push broom and push off leaves, debris, dirt, and dust. Spot clean any oil or fluid stains with hot water and a dish detergent like Ajax. Next, thoroughly spray down the drive. If you have a power washer that would be even better.
Keep It Patched
If you notice shallow cracks forming, you can easily fill them and prevent further cracking. Take a small bristle brush and clean out dirt and debris from the crack. Patching material will not bond with dirt.
Cracks that are a half-inch or less wide can be easily filled using a filler product available at any home improvement store. Applying it is like applying the caulk. Use a putty knife to smooth out the fix after you have filled it.
For larger cracks or holes, a ready to use asphalt patch material (also available at your home improvement store) can quickly get the job done.
Clean the hole, remove any loose asphalt, use a garden trowel to fill the spot with patch material, and then use a tamper (or the back of a flat back shovel) to level the patch even with the surface of the drive.
It’s important that the patch is allowed to totally dry. Just like baking a cake, insert a toothpick in the patch. If it comes up wet, it still needs more drying time.
Keep It Sealed
Depending on your climate, you’ll want to seal your drive every two to five years to give it protection from UV rays, improve water resistance, and to restore it to a “like new” appearance. Before you seal you will want to clean it and perform any patching necessary.
Let’s take this step by step:
- Measure your drive so you know how much sealant you are going to need.
- There are a variety of different sealants. We recommend a gel sealant as it is easier to work with and requires less stirring than non-gel varieties. Whichever you choose, let it sit upside down for at least 24 hours to ensure any settled materials are mixed in.
- Check the weather forecast. Ideally, you want at least 24 hours and preferably 48 hours of sunny weather with no chance of rain.
- You’re going to be applying two coats of sealant. Start at the top of your drive by pouring a thin line of sealant across the width. Using a squeegee, thinly spread the sealant left to right. Follow up by spreading it right to left overlapping the first layer. Continue adding likes of sealant and using the back and forth technique until you reach the bottom. Place the empty buckets at the entrance to the drive to prevent traffic from entering.
- If you tackle this in the morning and the drive is in the sun, the first coat should be dry by lunchtime.
- Starting at the top, use the same technique except spreading top to bottom instead of left to right.
- Give the finished job 24 hours to dry. Use a cloth to wipe the surface. If it comes up clean the sealant is dry and you are good to go. Remove the buckets from the bottom of the drive and admire your “new” asphalt driveway.
Now there is an easier way that will save you the work and get the job done much faster. You can have a professional asphalt paving company do it for you. But like in all home improvement projects, make sure you pick a reputable, licensed, insured, contractor who can demonstrate a history of satisfied clients.


