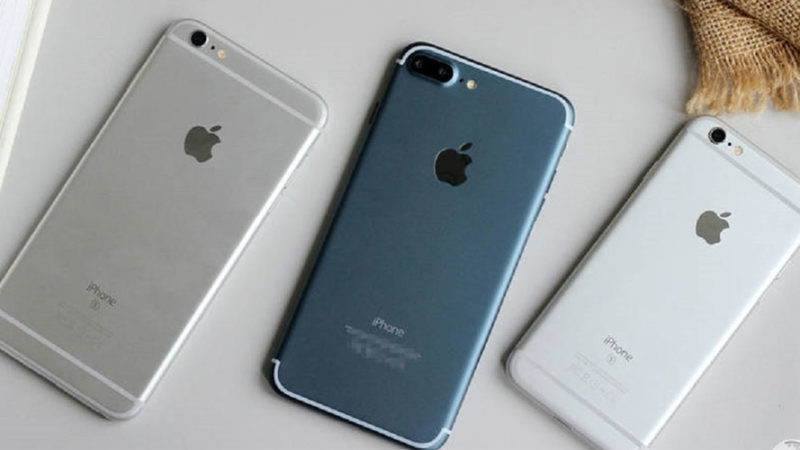
Are you sick of Apple, and everything Apple related? Maybe you’re disappointed in the iPhone X, which is okay, but still might not size up to flagship Androids.
Whatever the reason is, making the switch from Apple is easier said than done. If you’ve been using Apple for years, chances are your life is pretty intertwined with its ecosystem – you probably have an Apple TV, iPad, Mac, and maybe even AirPods. Don’t fret – we’ve got you covered. Sell your old Apple gear to an iPhone repair shop and follow these step by step instructions on how to say goodbye to Apple.
Step One: Make the Switch to Android
If you’re really serious about ditching Apple, your iPhone will likely be the first thing you’ll want to leave behind. Thankfully, Android is more than happy to take your business and most of the popular models make switching over pretty seamless without you having to lose any personal data.
If you’re looking for an Android similar to an iPhone, we suggest Google’s Pixel. It’s easy to use, packed with features, and overall has a good design. Transferring all of your iPhone information can be done in a few taps by following some prompts on the pixel. Do this, and switch off iMessage to ensure you receive all of your SMS messages after you have switched out to Android.
If you’re more interested in a Samsung, the manufacturer provides a very competitive Smart Switch app. Just back up your iPhone with iTunes, and again, turn off iMessage. Using the same computer, plug your Samsung in, and it will do the leg work for you.
We know you might be anxious to cash in your old iPhone, but do so just yet – you’ll need your old iPhone to extract data out of Apple’s Podcast app and Apple Photos.
Step Two: Make the Switch to Microsoft
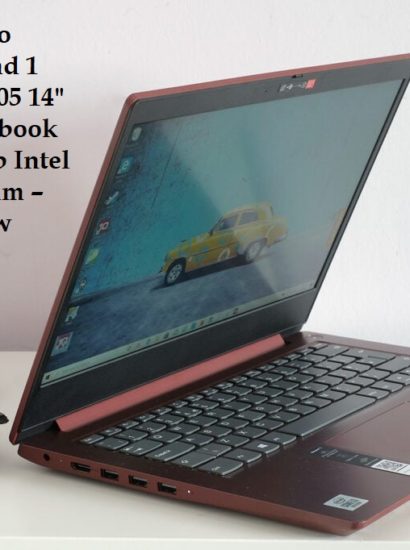
When you leave Apple, you get to leave behind the hefty price tag attached to their desktops and laptops. Sure, Microsoft offers its own high-end devices, but you can always choose a cheaper PC. Either way, you’ll have to do some heavy lifting to transfer over all of the data you’ve got on your Mac.
Set up a Microsoft Account to replace your Apple ID. Then, connect your Apple laptop or computer to an external hard drive and transfer all of your files over. This can be pretty complicated, so don’t be afraid to check out a more in-depth guide on how to change computers.
After you are done saving and formatting all of your files, connect the external hard drive to your new PC and you’re set.
You should still hang on to your Mac for now so you can transfer information from your iCloud keychain.
Step Three: Switch from iMessage
iMessage is pretty great. If your friends and family are Apple lovers and continue to use the iMessage app, you might feel left out of the extra features Apple keeps adding.
There’s really no happy alternative, other than getting everyone else to leave Apple too. Most of the world already use chat apps like the popular WhatsApp. Try to bring your conversations to WhatsApp instead. Or you could use Facebook Messenger more.
If you’re not on social media and none of your friends use WhatsApp, you might have to get used to regular text messaging.
Step Four: Switch from iCloud
Now you’ve got to switch all of the files you’ve got in Apple’s cloud service to Google Drive, particularly if you are switching to Android. As you may have expected, Apple doesn’t make this easy.
You’ll have to use desktop apps. Download both Google Drive and iCloud apps to your computer. Open up both services in separate Finder windows on your Apple computer, or File Explorer on PC. Highlight all of the files you want to transfer from iCloud and drag them into Drive. Done.
Step Five: Switch to Gmail
If you’re still using Apple’s email, it’s time to make the switch to Gmail. To do this, you’ll need a third-party email client, like Thunderbird. Download it, connect your iCloud Mail account, and all of your emails will appear in Thunderbird. Next, connect your Gmail account and drag the iCloud emails into this account. Now, your Apple email will be sent into your Gmail inbox everywhere on the internet.
You’ve gotten so far in your quest to make the switch from Apple! But more work lies ahead. You might thank yourself after you’ve sold all of your Apple devices and have made a nice cash profit, so stay tuned for part two in this series on how to make the switch from the Apple ecosystem.
In part one of this two-part article series, we discussed how to make the switch from Apple products to Google and Microsoft products. You might have recently become disillusioned with Apple for a variety of reasons, or maybe you just want to save money by selling your devices.
Selling all of your Apple goods to an iPhone repair shop would make you a pretty penny, or maybe you are just looking for a change. Whatever your reason may be, Apple doesn’t want you to leave, and they don’t necessarily make changing easier on you. That’s why we wrote this guide on how to make the switch from Apple.
Move Your iCloud Keychain Data to Another Password Manager
The iCloud Keychain is pretty sleek, but there are better password managers out there. Also, if you’re tossing out all of your Apple products, you really don’t have a choice. Luckily, it’s pretty seamless to switch over to a better service like 1Password.
In the last article, we suggested you hang on to your Mac and iPhone temporarily to extract the last of your data. There is an importer tool you can download to transfer all of your iCloud Keychain credentials to 1Password. Simply follow the directions included in the PDF file.
Walk Away From Apple Photos
Before you start, you’ll need to make a tough decision – do you want to keep all of your pictures at their original resolution? Or would you rather downsize to meet Google’s max 16MP for Pics and 1080p for video?
If you want to save your original quality versions, you’re going to have to pay extra, for $1.99 a month, unless you have chosen the Pixel 2 which supports free high-quality photo storage through next year.
Switching to Google Photos is easy, but time-consuming. You need to download the Google Photos app on both iOS and Mac. After you have installed these apps, they’ll start uploading all of the photos you have saved on your devices.
If anything was uploaded to iCloud and deleted from your device, you can open Apple’s Photo app on your Mac, select iCloud, set the app to “Download Originals to Mac,” or go to iOS, select settings, iCloud, then photos then tap on “Download and keep originals.”
After all of this, your videos and pictures should all be safely stored in Google photos, online, where you can access them from any device. Oh, freedom!
Leave Apple’s Podcasts App in the Dust
Apple’s podcast app leaves a lot to be desired, but thankfully, there are a lot of better options for organizing, downloading and listening to all of your favorite podcasts.
Stitcher Radio is one example. And it’s easy to swap to this from Apple Podcasts. Install Stitcher on your old iPhone, setup your account, and it will import all of your Apple podcasts in a snap. Once you have done this, Stitcher will automatically switch between devices, making the switch from iPhone to Android seamless.
Move to Spotify
You’re going to have to use a tool for this one, called Soundiiz. You’ll need to export playlists from Apple music and upload them to Spotify through their website.
If doing that seems like it would take an eon, try downloading an app called Workflow. Open the app, and search through the gallery for “Add playlist to Spotify.” This automation app will handle the rest of the work for you.
These aren’t perfect solutions, and you risk losing some music. You might also export your music out of Apple Music, run some commands in the Mac terminal then upload the files to Spotify through PlayListConverter.
If you want to make sure every song transfers over, you’ll want to use this option. If you’re looking for convenience, try Workflow instead.
Neither of these first two solutions is perfect, and they might lose a few tracks in the process. Another Spotify user offered a better solution of their own in the company’s forum, but it’s a little more complicated. It requires exporting your music out of Apple Music, doing some coding in the macOS Terminal and then uploading the files to Spotify through another third-party website called PlayListConverter.
Switch to Google Play
You can transfer all of your iTunes music to Google Play pretty easily. Head to its website, log in, and choose “Upload Music.” Download and install them Music Manager program on your computer. Once it’s downloaded, follow the prompts and Google will store up to 20,000 songs in the cloud for free, easily accessed from any device.
Getting your iTunes movies and shows into Google Play is going to be a lot harder. To remove DRM protection, you’ll need to shell out some money or TunesKit. If you want to, you can transfer the files you have removed DRM rights from by heading to Google Play in your browser and going to movies and TV. Upload all of your videos to the cloud where you can access them on any Android.
Switch Over From FaceTime
Microsoft and Google offer alternatives to Facetime with Skype and Duo. You can also try using Facebook Messenger, or WhatsApp that both have video calling built-in.
Congratulations! If you have reached the end of this article, you have successfully made the switch over from Apple. You can now sell your Apple devices and enjoy the Google ecosystem.


